Why Upcycling is More Than a Trend
There’s a reason upcycling keeps gaining steam—it just makes sense. Turning old, unused stuff into things you actually want around means less waste heading to landfills and a little less guilt with every project. It’s not about being perfect—it’s about being practical and thoughtful with what you already have.
It’s also lighter on your wallet. No need to spend big on new decor when a coat of paint or a slight reconfiguring can give something old a second life. Plus, working within limits tends to spark the best ideas. Constraints turn into creativity when you ask, “What can I make this into?”
And here’s the kicker—it makes your space yours. Anyone can buy something off a shelf. But a mirror framed with salvaged wood or a lamp made from grandma’s colander? That’s personal. That’s proof you put in the effort to make your home tell your story.
Upcycling isn’t just trendy. It’s a small, satisfying rebellion against throwaway culture—and a smart way to live.
Getting Started: The Mindset Shift
Stop Tossing—Start Reimagining
Upcycling begins with a mental shift. Before you toss something in the trash, pause and ask: Could this be transformed into something useful or beautiful? Often, it’s not the item itself that has no value—it’s how we’re used to seeing it.
– Old doesn’t mean useless
– Scratches and dents often add charm
– Function can be redefined (an old ladder doesn’t need to be climbed)
The best upcyclers approach everyday objects with curiosity and creativity. That cracked dish, broken drawer, or outdated frame might just be the centerpiece of your next DIY project.
How to Spot Potential in Everyday “Junk”
Not sure what’s worth saving? Keep an eye out for these features:
– Solid structure: Even if worn, wooden items or metal pieces with a sturdy frame are great candidates
– Interesting shapes: Unique lines, curves, and patterns can add character to your space
– Mix-and-match parts: A drawer pull, table leg, or glass panel might be useful in a completely different project
– Textiles with personality: Bold patterns, durable fabric, or vintage details (like lace or embroidery) can be repurposed creatively
Ask yourself:
– Can this be painted, re-covered, or trimmed?
– Could this serve a new function?
– Does it make me pause in a good way?
The answers might be more inspiring than you expect.
Tools and Basics Every Beginner Should Have
Diving into upcycling doesn’t require a full workshop setup, but a few reliable tools can make all the difference. Here’s a basic starter kit:
– Screwdrivers (flathead and Phillips)
– Measuring tape
– Sandpaper or sanding block
– Paintbrushes and small rollers
– Multi-surface paint
– Wood glue and basic adhesives
– Scissors and utility knife
– Staple gun (for fabrics)
– Protective gear: gloves and a mask (especially for sanding or painting)
Optional but helpful:
– Power drill
– Sewing kit
– Hot glue gun
Start simple, then build your toolset as your projects grow more ambitious. The key is to choose tools that suit the kinds of materials you plan to work with.
Upcycling is part resourcefulness, part creativity—and it all starts with seeing the potential in what others might overlook.
Idea 1: Furniture Revamps
Got a broken chair taking up space in your garage? Don’t ditch it—reinvent it. Start by removing the backrest and leveling the legs if they’re uneven. What you’re aiming for is a sturdy base that can double as a side table.
Once you’ve got the bones, it’s time for a facelift. A coat of paint—matte black or sage green goes a long way—can modernize almost anything. Swap old screws or knobs for sleek hardware to take it up another notch. If the seat is warped, replace it with a reclaimed wood slab or even a thick-cut tile for contrast.
Safety’s not optional. Sand every edge until it’s buttery smooth to prevent splinters. Use a wood sealer or polyurethane finish if it’s going to hold drinks, plants, or anything with condensation. Make sure the legs are solid; if they wobble, reinforce them with wood glue and a bracket.
Want to take it further? Pair your new side table with custom shelving in small spaces. The key is function and flow—let each piece complement the next.
Upcycling starts with a shift in vision. That broken chair? It’s your next favorite accent piece.
Idea 2: Light Fixtures from Discarded Items
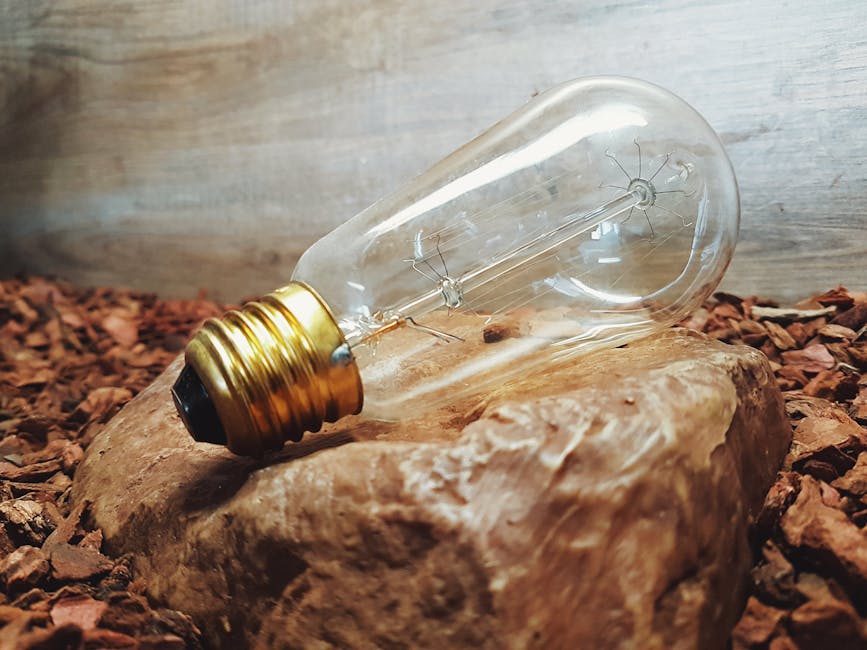
Lighting doesn’t have to come from a showroom. Mason jars, old cheese graters, and even wire baskets can become show-stopping fixtures with a little vision and a touch of elbow grease. A mason jar can house a bulb with vintage charm. A cheese grater? Flip it upside down and you’ve got a downlight with personality. Wire baskets cast interesting shadows while adding texture and form. The weirder the object, the cooler the result—as long as it’s sturdy and safe.
A word on wiring. If you’re comfortable doing simple electrical work, kits with sockets and cords are easy to find online. Secure the pieces, feed the cord through, connect with a basic bulb holder, and you’re set. But if the idea of connecting wires makes your palms sweat, that’s your cue to hire help. Safety’s not optional when it comes to electricity.
Lean toward rustic with raw finishes, or go full industrial with matte black cords and Edison bulbs. For a farmhouse vibe, combine soft-glow bulbs with whitewashed wood fixtures. If your space leans modern, keep lines clean and metals unpolished. These quirky lights won’t just brighten a room—they’ll start conversations.
Idea 3: Vintage Ladders as Decor
Old wooden ladders aren’t just garage clutter—they’re vertical design gold. Use them as towel racks in the bathroom, open-sided bookshelves in a reading corner, or even as creative hanging planters with S-hooks and wire baskets. The structure is already there—you just need to give it a role.
When it comes to finish, you’ve got two solid options: embrace the weathered wood with all its dents and chips intact, or sand it smooth and give it a clean coat of paint or sealant. Go with the former if you’re chasing rustic charm, or the latter if you want something crisp and modern. There’s no wrong move—just pick a lane and own it.
One non-negotiable? Safety. If you’re mounting the ladder or leaning it against a wall for regular use, anchor it properly. Use wall brackets or anti-tip kits to prevent accidents, especially in homes with kids or pets. It’s decor, but it’s still a structure—treat it like one.
Idea 4: Repurposed Fabrics
If it’s soft and worn-in, chances are it’s got one more life left. Old jeans aren’t just thick and sturdy—they’re modular, too. Cut the legs into strips for wall organizers or storage bins. Holes? Perfect. Just reinforce with stitching and patchwork. You can even hang small denim pockets on a board for catching keys or tools by the door. If you’re really going for it, fold the denim into planters lined with plastic inserts. They’ll hold shape and add a bit of grit to your green space.
T-shirts stack up fast. Don’t throw them out. You can braid them into rugs without sewing—just cut into long strips, tie off the ends, and twist until you’ve got the thickness you want. There’s no fixed pattern. Start with a circle, or build from the center and spiral outward. It’s forgiving. The older the shirt, the softer the rug.
As for curtains, tablecloths, and other odds and ends? These are your secret weapon. Breezy fabrics can fill in as pillow covers, drawer liners, or makeshift café valances. Heavy ones can be slipcovers with a little edging. Look at the textile, not the label—if the material feels right, you’ll find a purpose.
Upcycling fabric isn’t about being precious—it’s about being practical. You’ve already lived with this stuff. Now make it live a little longer.
Idea 5: Frame It Differently
An old picture frame isn’t just a leftover from outdated wall art—it’s raw material. Group a few empty frames together and you’ve got a minimalist wall cluster that’s more about shape and balance than content. Keep it clean for a modern look, or layer different sizes and styles for more visual texture.
If you want utility, add chicken wire or stretch cork board across the back. Instantly, your frame becomes a message center, jewelry holder, or mini herb garden mount. It’s form meeting function, without losing any character.
To finish it off, give your frame a look that fits your space. Paint them matte black for sleek contrast. Go distressed if you’re leaning farmhouse. The goal isn’t perfect lines—it’s personality.
This is upcycling with range: cheap, useful, and entirely yours.
Combining Function and Style
Good design doesn’t just look good—it works. When you’re upcycling, every piece should earn its place. That side table made from a crate? It better hold a stack of books or a late-night cup of tea. It’s not about filling space. It’s about creating utility with a story.
Cohesion doesn’t mean everything matches. It means everything belongs. If you’ve got a mix of colors, textures, eras—anchor them with repeated tones or recurring materials. Mix chrome with rusted steel? Tie it together through neutral textiles or a consistent wood finish. Personal spaces thrive on contrast when it’s done with intention.
Minimalism and maximalism both work—so long as you commit. If you’re leaning clean and minimal, edit ruthlessly. Let one statement piece breathe. If you’re all in on more-is-more, layer like crazy—but keep it curated. Each item should still do something: hold, display, organize, light. The goal is beauty that pulls its weight.
Final Thoughts
Upcycling isn’t about getting it perfect. It’s about seeing what something could become, not what it used to be. That Old Thing in the garage? Raw material. That dented lamp at a yard sale? A future conversation starter.
The best part is, you’re saving money and making a dent in waste, all while building a space that actually feels like yours. No big budget, no cookie-cutter layouts—just you, experimenting, learning, and making it up as you go.
Start small. Pick one neglected corner of your home. Try out a single piece, one material, one idea. Then build from there. Upcycling thrives on momentum, not mastery. You don’t need a workshop—you just need to begin.


