Introduction
DIY has an obvious appeal. You save money, you skip waiting on contractors, and you get total control over the look and feel of your space. For people who enjoy hands-on work, it can even be fun—part creative outlet, part stress relief. It’s no wonder more homeowners are rolling up their sleeves when it comes time for renovations.
But it’s not all paint samples and Pinterest boards. A misstep in a DIY project can end up costing more than hiring a pro in the first place. Think: cut corners on plumbing, blow an electrical fuse, or botch a flooring install—not just frustrating, but potentially unsafe. Materials get wasted, timelines spiral, and that weekend project turns into a month-long mess.
Before diving in, remember—not everything is meant to be DIY’d. Some jobs demand certification, experience, or tools most homeowners just don’t have lying around. This guide walks through the biggest DIY mistakes and how to avoid turning your remodel into a redo.
Mistake 1: Skipping the Planning Phase
Before picking up a hammer or heading to the hardware store, strategic planning is critical. One of the biggest and most common DIY mistakes is diving into a project without a clear roadmap.
The Risks of Rushing In
Failing to plan properly can lead to multiple setbacks that affect both your wallet and your schedule:
– Underestimating Time Requirements
Many DIYers assume projects will take a weekend. In reality, even “simple” tasks often run over due to unexpected obstacles.
– Miscalculating Costs and Materials
Running out of materials mid-project is frustrating—and expensive. Not accounting for tools, shipping delays, or extra supplies can blow your budget fast.
– Skipping Permits
Skipping building permits to save time sounds convenient, but it can result in hefty fines, forced redos, or problems when selling your home. Always research what’s legally required in your area.
Why a Plan Pays Off
Taking the time to map out your project helps you:
– Set a realistic timeline with room for delays
– Budget properly with a cushion for surprise costs
– Determine what tasks you can handle—and what requires a professional
– Avoid legal pitfalls by checking local building codes and permit requirements
Pro Tip: Write It Down
Document your plan. Include step-by-step tasks, budget estimates, tool lists, and permit needs. Treat it like a blueprint—even for small projects. You’ll thank yourself later.
Bottom Line: Rushing into renovations without a solid plan is a guaranteed way to lose time and money. The more detailed your planning, the smoother your DIY experience will be.
Mistake 2: Choosing the Wrong Tools
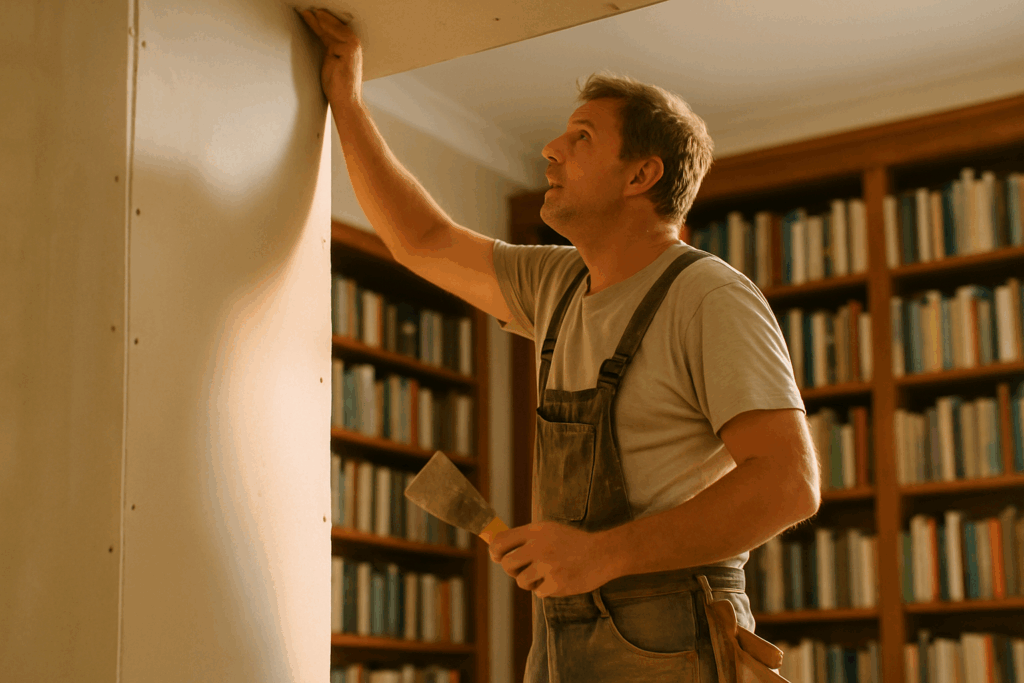
It’s tempting to tackle a renovation project with whatever tools are lying around in the garage—but that shortcut can cost you. Basic tools might get you through demo day, but when it comes to precision work—like cutting tile, finishing drywall, or installing custom trim—underpowered or inaccurate tools can ruin the job fast. Think blown cuts, cracked materials, and hours you’ll never get back.
Borrowed tools aren’t always better. Using a tool not designed for the task, or one you’re unfamiliar with, increases the chance of mistakes or injury. You waste time troubleshooting something that should’ve taken ten minutes.
So: when do you spend, and when do you save? If it’s a tool you’ll only use once—say, a floor sander—renting is the better move. But if the tool is essential and likely to be used again, invest in quality. A decent multi-tool, drill/driver, or wet saw doesn’t have to be high-end, but it does need to be dependable. Saving money doesn’t mean cutting corners. It means knowing when the right tool saves the entire project.
Mistake 3: Ignoring Safety Protocols
It’s tempting to skip the gloves, goggles, or even turning off the power when you think, “I’ll just be five minutes.” That shortcut mindset is exactly how injuries pile up in DIY renovations. Gloves protect from splinters and cuts. Masks keep paint fumes and drywall dust out of your lungs. And electricity? It doesn’t care if you’re a homeowner or a pro—it’ll sting the same either way.
Then there’s the ladder. Maybe it’s not quite stable. Maybe you’re stretching just a bit too far to finish that cut. Next thing you know, you’re on the ground wondering what went wrong. Overconfidence with power tools comes in close behind—a wrong angle or a moment’s distraction can lead to some very expensive hospital bills.
Bottom line: safety gear isn’t optional, even for fast jobs. If you wouldn’t let your kid do it without gear, don’t let yourself. Quick tasks still deserve full precautions. No one ever regretted being too safe on a job site—but plenty regret playing tough and ending up in a cast.
Mistake 4: Poor Surface Prep
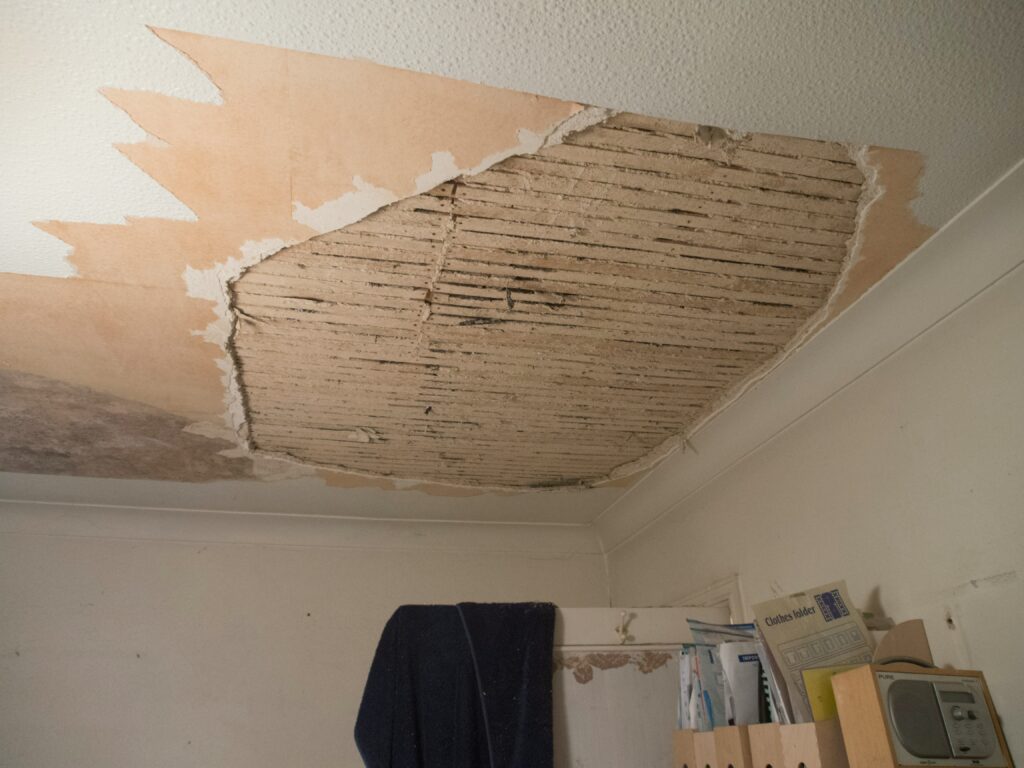
Surface prep isn’t glamorous, but skip it and your whole project suffers. Painting over dirt, grease, or moisture doesn’t just look bad—it can peel, bubble, or mold over time. Same goes for slapping new paint onto old wallpaper. The shortcut might feel good in the moment, but it turns into a much longer problem down the line.
Then there’s the issue of uneven floors and walls. Trying to lay tile or install baseboards on a warped surface is like building on a slope—everything feels a little off. It might be subtle, but your eyes will catch it every time you walk by. Minor waves become major regrets.
Good prep looks like this: clean surfaces, dry walls, patched holes, and smoothed edges. It may take extra hours upfront—scraping, sanding, wiping stuff down—but it pays off. Paint sticks better. Floors sit flatter. The finish looks like you hired a pro. And that’s the goal, right? Do it once. Do it right. Don’t get lazy here.
Mistake 5: Taking On Too Much
Tackling home renovations yourself can be incredibly rewarding—but biting off more than you can chew is one of the fastest ways to derail your progress and inflate your expenses.
Know Your Limits
It’s easy to be inspired by home improvement shows or online videos, but real-life renovations are rarely as smooth (or quick) as they appear on screen. Many DIYers underestimate how complex certain tasks are, only to end up frustrated halfway through.
– Avoid tasks that clearly require advanced skills or certifications
– Be honest about your experience level and physical capacity
– Complex work often takes more time than expected—plan accordingly
Finish What You Start
Jumping between multiple projects can cause chaos in your home and drain your motivation.
– Start with one project and complete it before moving to the next
– Create a clear timeline and stick to it as best as possible
– Unfinished work can create safety hazards and devalue your home
When to Call a Pro
Some jobs are best left to licensed professionals. Attempting to DIY certain areas can be dangerous and costly if done wrong.
Consider calling in the pros for:
– Structural alterations (e.g., removing load-bearing walls)
– Plumbing work (especially anything tied to main lines or drainage)
– Electrical systems (installing new outlets, rewiring, or panel upgrades)
These areas not only risk personal injury but can also compromise your home’s integrity or lead to code violations.
Even if you’re a confident DIYer, knowing when to step back and bring in an expert can save you time, money, and peace of mind.
Mistake 6: Budgeting Without Cushion
Renovation plans often start with a strict budget—but the reality rarely cooperates. Unexpected issues, from hidden water damage to last-minute material changes, can pile on extra costs fast. Without a financial cushion, you could find yourself cutting corners, compromising quality, or even halting progress altogether.
Common Budgeting Mistakes
– No room for unexpected costs:
– It’s not uncommon for hidden problems to surface once a renovation begins.
– Plumbing surprises, structural repairs, or outdated wiring can blow your budget within days.
– Choosing the cheapest materials:
– Bargain-basement options might save you money upfront, but they often lead to future repairs or full replacements.
– Low-quality paint, flooring, or fixtures can wear down faster and hurt your home’s value in the long run.
Smart Budgeting Tips
– Build in a contingency fund:
– Add 10–20% to your estimated budget. This buffer will help cover hidden costs without extra stress.
– Prioritize spending wisely:
– Invest in foundational elements (insulation, structural reinforcement, electrical upgrades).
– Save on cosmetic details that are easier and cheaper to update later (hardware, light fixtures).
– Plan purchases ahead of time:
– Know where your money is going and avoid impulse buys mid-project.
– Compare material prices and track discounts in advance.
Staying financially flexible doesn’t mean abandoning discipline—it means being ready for the realities of renovation. A well-padded budget gives you breathing room to make the right calls without compromising the end result.
Mistake 7: Ignoring Design Flow
A successful renovation goes beyond upgrades and repairs—it’s also about visual harmony. When DIYers neglect overall design flow, the results can feel disjointed and unfinished, no matter how much effort went into the work.
Clashing Styles & Mismatched Finishes
Mixing design trends or materials without a clear vision can make your home feel chaotic. A farmhouse kitchen next to a modern industrial living room? It’s jarring without intentional cohesion.
Common missteps:
– Replacing fixtures or finishes that don’t match your home’s overall style
– Combining incompatible color palettes or hardware finishes
– Updating features based on trends, not long-term appeal
One Room Feels Updated—The Rest Feels Forgotten
It’s tempting to pour your energy into a single room—but major style changes in one space can make the rest of your home feel outdated by comparison.
Instead:
– Think of your renovation as updating a full experience, not just isolated areas
– Use smaller cosmetic tweaks (like paint or lighting) to bring the whole home into harmony
– Carry over a defining element—like flooring material or metal finishes—to other rooms for consistency
Budget-Friendly Cohesion
You don’t need a designer budget to create a unified home. With intentional planning and consistent choices, even inexpensive upgrades can tie your spaces together.
Tips to stay cohesive without overspending:
– Pick 2–3 core colors and stick to them
– Use similar hardware finishes across rooms
– Choose timeless patterns and textures over bold trends
(Related read: Budget Upgrades That Give Your Home Instant Style)
Design flow might not be the most obvious DIY pitfall—but it’s one of the easiest to avoid with the right vision and planning.
Final Takeaways
Before you lift a hammer, pause. Demoing a wall feels productive, but it’s not a strategy. Behind every great DIY project is a game plan: measurements, budgets, material lists, contingency ideas. Gut with intention, not impulse.
Also—know when to tap out. You can DIY paint, maybe even tile. Load-bearing walls? Electrical rewiring? That’s where it gets risky fast. Your home isn’t a trial-and-error sandbox. Be honest about your limits and protect your health, wallet, and home value.
The smartest DIYers aren’t the ones who do everything—they’re the ones who do the right things. Save time, reduce stress, and avoid expensive do-overs by scaling your projects to match your skills. Strategic wins beat heroic fails every time.


